
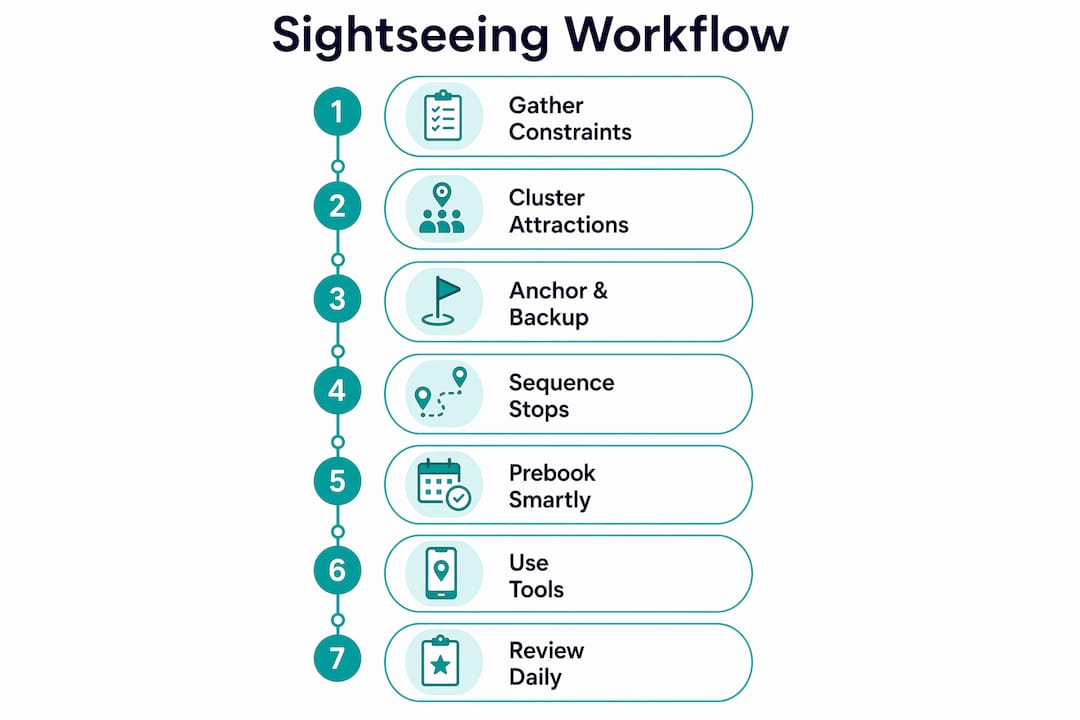
The most effective way to schedule sightseeing efficiently is a five-step workflow: gather your constraints, cluster attractions by neighborhood, assign one anchor and one backup per day, sequence stops by opening hours and crowd patterns, then prebook the essentials. Advance planning saves travelers an average of 20–30% on attraction costs by avoiding last-minute premium pricing and enabling smarter use of timed-entry reservations. The tools that make this work: Google Maps for clustering, Google Calendar for time-blocking, ChatGPT or Claude for constrained ideation, and Destlist if you want a done-for-you plan.
Quick-start checklist:
- Lock your Tier 1 anchors (the non-negotiables) before anything else
- Pin all attractions on Google Maps and group them into walkable neighborhood clusters
- Assign one high-energy anchor to each morning, plus one nearby backup
- Sequence stops by opening hours, crowd peaks, and realistic transit time
- Slot meals and rest windows before filling in optional stops
- Confirm bookings and save QR codes or reservation numbers in one shared document
Table of Contents
- 1. Start by gathering your constraints and must-sees
- 2. Cluster attractions by neighborhood to cut transit waste
- 3. Build each day around one anchor and one explicit backup
- 4. Sequence stops by opening hours and crowd patterns
- 5. Prebook the right things at the right time
- 6. Which tools and workflow actually turn research into a schedule?
- 7. Three sample day templates you can copy right now
- 8. Common itinerary mistakes and how to fix them fast
- 9. How Destlist applies this method for you
- Key Takeaways
- The case for designing days around calm, not maximum tick-off
- Destlist builds this workflow into a ready-to-book itinerary
- Useful sources and further reading
1. Start by gathering your constraints and must-sees
Before you touch a map or a calendar, you need a clear picture of what you cannot change. Travel dates, accommodation check-in and check-out times, arrival and departure flights, mobility limits, party preferences, and any reservations you have already paid for — these are your hard constraints. They define the actual usable hours in each day, which is almost always fewer than travelers expect. A flight landing at 6 PM is not a full sightseeing day; it is a "settle in and eat dinner" evening.
Once constraints are captured, build a tiered must-see list. Tier 1 is the short list of places you would genuinely regret missing. Tier 2 is the "would be great" list. Tier 3 is the "if time allows" overflow. Lock Tier 1 first, because those are the attractions most likely to require timed-entry reservations or to sell out. Everything else fills around them.
A practical way to tailor your itinerary to your priorities is to capture all constraints in a single shared Google Doc or spreadsheet before opening any booking site. Assign each attraction a rough visit duration using broad categories: quick stop (15–30 minutes), standard visit (45–90 minutes), major museum (2–3 hours), neighborhood wander (1–3 hours), or a meal (45–90 minutes). Mark which items require advance booking.
Pro Tip: Write a 2–3 sentence constraints paragraph before you open any AI assistant. Something like: "I have three full days in Chicago, staying near the Loop, traveling with a 7-year-old, and I have already booked the Art Institute for Tuesday morning." Feed that paragraph to ChatGPT, Claude, or Perplexity and you will get far more useful candidate days than if you just ask for "things to do in Chicago."
2. Cluster attractions by neighborhood to cut transit waste
Geography is the single most important variable in a daily itinerary. Hopping from one neighborhood to another for breakfast, then a museum, then lunch, then a gallery eats hours and drains energy before you have seen anything meaningful. The fix is to group attractions that are physically close into the same half-day block.
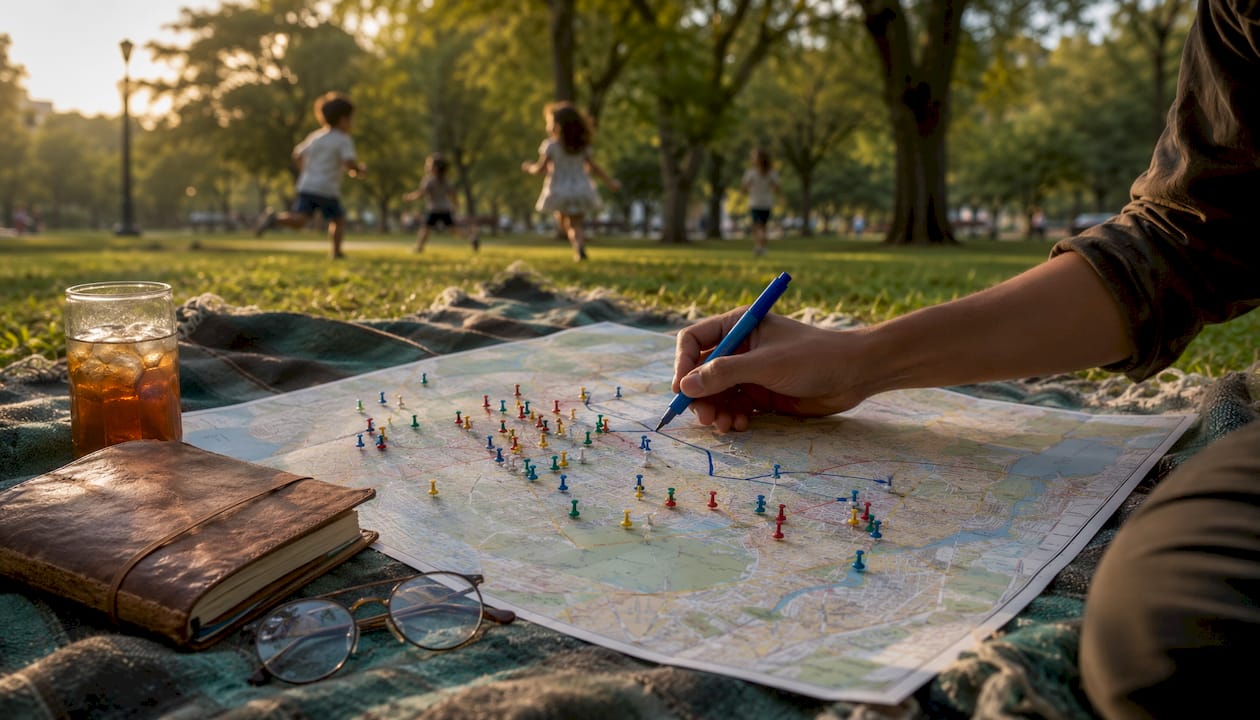
Open Google Maps, search your destination, and drop a pin for every attraction on your list. Color-code them: red for Tier 1 must-sees, yellow for Tier 2 nice-to-haves, and green for backups. Clusters will emerge naturally. Those clusters become your day neighborhoods.
A few rules that hold up in practice:
- One neighborhood per half-day. Morning and afternoon can be different areas, but each block should be walkable within itself.
- Prefer loops or linear routes. Walking a rough circle or a straight corridor beats backtracking across the same streets twice.
- Categorize transfers honestly: easy walk (under 15 minutes), borderline walk (15–20 minutes), transit-worthy transfer (20–35 minutes by metro or tram), or high-friction (requires multiple connections or a long rideshare). High-friction transfers between two stops in the same day are a red flag worth rerouting around.
- Walking is often faster than transit in dense city centers. A 12-minute walk beats a 5-minute subway ride that requires two platform changes.
Pro Tip: Once your clusters are pinned, use Google Maps' "Share" or "Export" feature to send the map to your travel party. Everyone can see the day's geography at a glance, which cuts the "where are we going next?" decision loop on the ground.
Once clusters are set, export them into Google Calendar as time blocks or drop them into your itinerary app. The goal is a single source of truth that the whole party can access without digging through a chat thread.
3. Build each day around one anchor and one explicit backup
The "one neighborhood, one anchor, one backup" rule is the highest-leverage planning heuristic most travelers skip. An anchor is the one experience that defines the day: a timed-entry museum, a guided tour, a famous viewpoint at golden hour. A backup is a nearby, lower-friction alternative you can pivot to if the anchor falls through or runs short.

Why does this matter? Because without a backup, any disruption — a sold-out ticket, a surprise closure, a tired child — forces a real-time decision under stress. With a backup already chosen, you just pivot. Decision fatigue drops, and the day stays enjoyable.
Choosing a good anchor means picking something with high personal value, ideally with a timed entry that locks the schedule around it. Choosing a good backup means picking something nearby, indoors if the anchor is outdoors, and low-effort. A covered market, a café with a view, a small neighborhood museum — these work well.
A concrete example day in practice:
- 9:00 AM: Timed-entry anchor (major museum, pre-booked)
- 12:30 PM: Lunch near the museum, already bookmarked
- 2:00 PM: Neighborhood wander in the same cluster (backup: covered market two blocks away)
- 5:30 PM: Flexible evening activity or early dinner
Pro Tip: Schedule high-energy, cognitively demanding anchors in the morning when you are fresh. Save neighborhood wandering, markets, and low-effort backups for the afternoon. This one adjustment reduces overall fatigue more than any other scheduling change.
Energy sequencing matters as much as geography. A major art museum after a long lunch is a recipe for glazed eyes and a shortened visit. The same museum at 9 AM, when you are rested and the crowds are thinner, is a completely different experience.
4. Sequence stops by opening hours and crowd patterns
Knowing where to go is half the job. Knowing when to arrive is what separates a smooth day from a frustrating one. Every attraction has a crowd curve, and most travelers ignore it entirely.
For high-demand indoor anchors, arriving at or near opening time is almost always worth the early start. Crowds build steadily through mid-morning and peak between 11 AM and 2 PM at most major museums and landmarks. If photography matters to you, viewpoints and outdoor sites hit their best light in the hour before sunset — plan accordingly.
Practical sequencing rules that hold across most city trips:
- Check official opening hours directly on the attraction's website, not a third-party aggregator. Hours change seasonally, and many sites have different last-entry times that are easy to miss.
- Use Perplexity or Claude to surface current crowd pattern data and recent visitor reports, then verify on the official site before committing.
- Alternate indoor and outdoor stops through the day. Two consecutive multi-hour museum visits is a common mistake that compounds fatigue fast.
- For transit between stops: walk anything under 20 minutes, take metro or tram for 20–35 minute transfers, and treat anything requiring a complex station change as high-friction worth avoiding.
Pro Tip: Build a three-tier timing view for each stop: earliest workable arrival, ideal window, and latest acceptable entry. Then sort your day around the ideal windows, not the opening times. This gives you flexibility without losing the sequencing logic.
One detail travelers consistently underestimate: door-to-door transfer time is almost always longer than the map suggests. Add buffer for finding the entrance, security lines, coat checks, and the first ten minutes of orientation inside a large venue. Google Maps estimates walking time for a rested person moving at pace — not for a traveler carrying a bag after a long morning.
5. Prebook the right things at the right time
Not everything needs advance booking, but the things that do will wreck your day if you skip them. The priority order is straightforward: transport that affects your arrival (flights, intercity trains), then the hardest-to-get timed anchors, then accommodation in the neighborhood that supports your clustering plan, then optional add-ons.
Pre-planning attraction bookings can save travelers an average of 20–30% on attraction costs by avoiding last-minute premium pricing and enabling smarter use of timed-entry reservations. That gap is real at popular sites where same-day tickets either don't exist or carry a significant markup.
A few practical booking rules:
- Book timed-entry anchors as soon as dates are confirmed, especially for peak season. Popular sites sell out weeks in advance.
- Avoid stacking two expensive timed entries in the same day unless they are geographically linked and have at least a 90-minute buffer between them. One delay cascades into the next.
- Evaluate city passes honestly. Map your intended stops against the pass coverage before buying. Passes rarely replace timed-entry reservations — they cover admission but not the queue-skipping slot.
- Capture every reservation number, QR code, and confirmation email in one place. Add tickets as attachments to Google Calendar events with the venue address, separate entrance details, and any required ID notes.
For a practical look at balancing cost and convenience across bookings, the key question is whether the flexibility you lose by prebooking is worth the cost and availability certainty you gain. For Tier 1 anchors, it almost always is worth it.
6. Which tools and workflow actually turn research into a schedule?
The workflow is: collect constraints → pin and color-code on a map → assign visit durations and energy levels → order by time windows → export to calendar. Each step has a natural tool.
Recommended tools by role:
- Google Maps: Pin and cluster attractions; estimate walking times; share the map with your travel party
- Google Calendar: Time-block each day; attach reservation details; set reminders for timed entries
- Perplexity or Claude: Research current opening hours, crowd patterns, and local tips; always verify on official sites
- ChatGPT or Claude: Feed your constraints paragraph and ask for candidate day structures; use as a starting point, not a finished plan
- Destlist: Done-for-you itineraries with human-verified routing, mapped walking times, and booking-ready day plans
AI tools are genuinely useful for surfacing options and checking facts, but they miss human factors like fatigue, local navigation nuances, and the feel of a neighborhood at a particular time of day. Use them as research assistants, not as the final planner. For AI-assisted itinerary workflows, the most effective approach is to use AI for candidate generation, then apply human judgment to sequence and pace.
Here is a simple planning template you can copy into a spreadsheet or Google Doc:
| Place | Tier | Est. Visit Time | Best Time Window | Nearest Transit | Backup Option |
|---|---|---|---|---|---|
| Art Institute | 1 | 2–3 hours | 9:00–11:00 AM | Walk from Loop | Millennium Park |
| Navy Pier | 2 | 1–2 hours | 2:00–4:00 PM | Bus or walk | Riverwalk |
| Wicker Park | 2 | 1–3 hours | 11:00 AM–1:00 PM | Blue Line | Bucktown stroll |
| Shedd Aquarium | 1 | 2–3 hours | 9:00–11:00 AM | Bus/rideshare | Museum Campus walk |
To export your map as a shareable route: in Google Maps, open your saved list, tap "Share list," and send the link to your travel party. For a single source of truth, paste the map link into the top of your Google Doc itinerary so everyone works from the same version.
7. Three sample day templates you can copy right now
Theory is useful. A template you can actually paste into your calendar is better. These three structures are built around the anchor + backup rule, realistic transit times, and explicit meal and rest windows.
One-day city template
| Time | Activity | Type | Backup |
|---|---|---|---|
| 8:30 AM | Arrive at anchor (timed entry) | Tier 1 anchor | Nearby café + walk |
| 11:30 AM | Neighborhood wander near anchor | Flexible | Covered market |
| 1:00 PM | Lunch (pre-bookmarked spot) | Meal | Street food nearby |
| 2:30 PM | Second neighborhood cluster | Tier 2 | Local gallery |
| 5:00 PM | Viewpoint or park | Low-energy | Riverside walk |
| 7:00 PM | Dinner | Meal | Backup restaurant |
Three-day city template
- Day 1 — Orientation: One light anchor (open-air market, main square, iconic viewpoint). No timed entries. Get your bearings, find a neighborhood you like, and eat well. Keep the afternoon open.
- Day 2 — Deep dive: Your two most important Tier 1 anchors, both timed, in the same or adjacent neighborhoods. This is the highest-effort day. Build in a 90-minute lunch break between them.
- Day 3 — Relaxed or day trip: One Tier 2 anchor in the morning, then a half-day trip or slow neighborhood afternoon. No timed entries. Use this day to revisit anything from Day 1 or 2 that felt rushed.
Family-friendly template
| Time | Activity | Notes |
|---|---|---|
| 9:00 AM | One timed anchor (interactive or outdoor) | Book in advance; arrive at open |
| 11:30 AM | Snack break + low-friction walk | Park, waterfront, or plaza |
| 1:00 PM | Lunch (sit-down, pre-bookmarked) | Budget 45–90 minutes |
| 2:30 PM | Rest window or nap (hotel or quiet café) | Non-negotiable for young kids |
| 4:00 PM | Backup activity (low-effort, nearby) | Market, playground, or ice cream walk |
| 6:30 PM | Early dinner | Avoid peak restaurant hours |
For family trips, day-by-day planning works best when rest windows are treated as fixed anchors, not optional gaps. A good framework for 1–3 day city visits accounts for queue risk and transition time rather than packing in extra sights.
8. Common itinerary mistakes and how to fix them fast
Most sightseeing days fall apart for the same handful of reasons. Recognizing them in advance is the fastest way to build a resilient schedule.
The most common mistakes:
- Over-scheduling. Three timed entries, two neighborhood walks, and a dinner reservation in one day looks achievable on paper. It is not. Cap yourself at two anchors per day, maximum.
- Ignoring transfer friction. The map shows 12 minutes. The actual door-to-door time, including finding the entrance and waiting for a tram, is 25. Always add buffer.
- Stacking timed entries back-to-back. One delay cascades. If your 10 AM museum runs long, your 12:30 PM tour is already at risk. Leave at least 90 minutes between timed commitments.
- Skipping meals and rest. Hunger and fatigue make every subsequent decision worse. Slot meals as fixed blocks, not afterthoughts.
- Trusting raw AI itineraries without checking them. AI assistants produce plausible-looking schedules that sometimes include closed venues, wrong opening hours, or geographically incoherent routing. Always verify on official sites.
Quick fixes for common disruptions:
- Ticket sells out: Go straight to your pre-chosen backup. Do not spend 20 minutes searching for alternatives on the street.
- Metro line closes: Check Google Maps for the fastest surface alternative. A rideshare is usually faster than waiting for a shuttle bus.
- Group wants to rest: Honor it. One slow afternoon does not ruin a trip. Pushing through exhaustion does.
Pro Tip: Each evening, spend 5–10 minutes checking the next day's first move: confirm the timed entry is still valid, check the weather, and verify the opening hours on the official site. A reusable itinerary should be treated as a living document tightened in the final week, not rebuilt daily.
9. How Destlist applies this method for you
Destlist builds itineraries around exactly the workflow described above: constraints first, neighborhood clustering, anchor-led days with explicit backups, and realistic walking and transit times baked into every route. The difference is that a human curator reviews every AI-generated output before it reaches you, catching the errors that raw AI consistently misses — wrong opening hours, geographically awkward routing, and pacing that looks fine on a spreadsheet but exhausts you by day two.
Relevant Destlist features that map directly to this workflow:
- Human-verified itinerary review: AI drafts the structure; a travel curator checks it for accuracy, flow, and local nuance
- Route maps with estimated walking times: Every day plan includes a mapped route so you can see the geography before you arrive
- Weather alerts: Real-time notifications that let you pivot to indoor backups when conditions change
- Booking links and packing lists: Reservation-ready links and destination-specific packing suggestions built into the plan
- 24-hour turnaround: A complete, ready-to-book itinerary delivered within a day of your request
What a Destlist output looks like in practice: a day-by-day plan with time-blocked activities, a neighborhood map showing the day's cluster, estimated walking times between stops, a backup option for each anchor, and direct booking links for timed entries. It is the manual workflow from this article, done for you. For smart itinerary features explained in detail, Destlist's approach to mapped routes and walking-time estimates reflects the same door-to-door logic covered in the clustering section above.
Key Takeaways
Scheduling sightseeing efficiently comes down to one repeatable workflow: cluster by neighborhood, anchor each day with one timed priority, add a backup, and sequence by opening hours and energy levels.
| Point | Details |
|---|---|
| Cluster before you schedule | Group attractions by neighborhood first; criss-crossing a city wastes hours and drains energy. |
| One anchor, one backup per day | The anchor + backup rule from Discovers.app cuts decision fatigue and keeps days resilient when plans change. |
| Prebook to save money | Advance booking saves travelers an average of 20–30% on attraction costs by avoiding last-minute premium pricing and enabling smarter use of timed-entry reservations. |
| Sequence by energy, not just time | High-energy timed anchors belong in the morning; low-effort neighborhood activities work best in the afternoon. |
| Destlist for done-for-you plans | Destlist combines AI research with human curation to deliver neighborhood-clustered, anchor-led itineraries with mapped routes and booking links. |
The case for designing days around calm, not maximum tick-off
There is a version of trip planning that looks great in a spreadsheet and feels terrible on the ground. Every hour is filled. Every transition is tight. The itinerary is technically efficient and practically exhausting.
The workflow in this article is not about seeing more. It is about deciding less once you are there. When you have already chosen the anchor, already identified the backup, and already clustered the day geographically, you are not making decisions under fatigue and hunger. You are just following a plan that already accounts for the fact that you will be tired by 3 PM.
Energy-aware sequencing is the part most planning guides skip. Mornings are for the things that require your full attention: timed entries, major museums, anything with a queue. Afternoons are for wandering, markets, and the kind of slow discovery that actually makes a city feel real. Evenings are for eating well and not consulting a map.
One prompt worth keeping: before you hand your constraints to any AI assistant or planner, write the 2–3 sentence paragraph that describes your actual trip. Not "I want to see Paris." Something like: "Four days in Paris, staying in the Marais, traveling with my partner, one of us has a knee issue, and we have already booked the Louvre for Thursday morning." That paragraph is the difference between a generic list and a plan that fits your trip.
Destlist builds this workflow into a ready-to-book itinerary
Doing this manually takes real time: pinning attractions, checking opening hours, sequencing by energy, verifying AI outputs, and keeping a single source of truth for the whole party. Destlist handles that entire process for you, with a human curator reviewing every AI-generated plan before it ships.
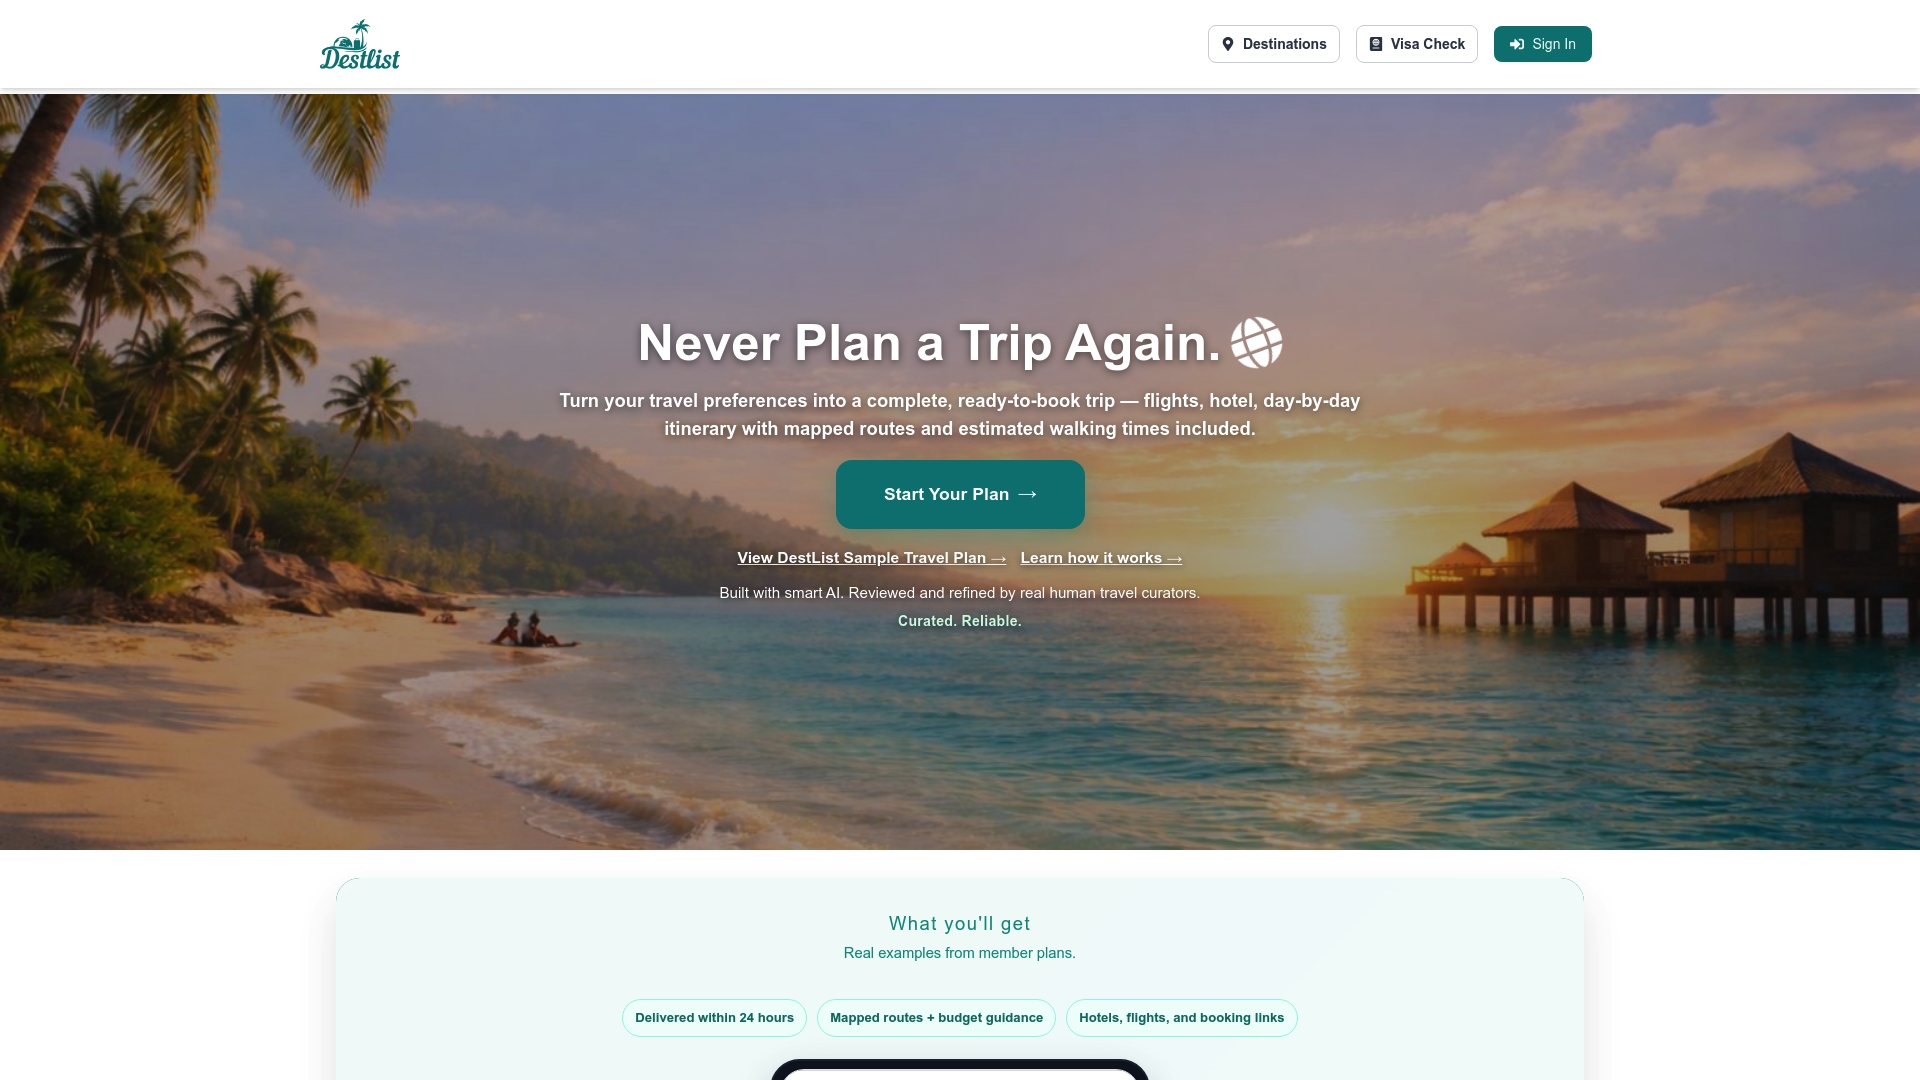
The result is a custom travel itinerary that arrives within 24 hours: neighborhood-clustered days, anchor + backup structure, mapped routes with walking times, weather alerts, and direct booking links. You get the efficiency of the workflow above without spending your pre-trip evenings in a spreadsheet. For a look at what a finished plan actually includes, the done-for-you travel planning service page walks through the full output. Ready to skip the manual work? Start your custom itinerary on Destlist and have a booking-ready plan in your inbox tomorrow.
Useful sources and further reading
These are the sources worth bookmarking for verification, deeper workflows, and tool documentation:
- AttractionScout Trip Planner — data on advance booking cost savings and timed-entry strategies
- Discovers.app: How to Build a Personal City Itinerary — the one-neighborhood/anchor/backup framework and energy-level planning
- Attraction.Cloud: 1-Day, 2-Day, and 3-Day City Itinerary Guide — transfer time categories and living-document approach
- Landmarks.pro: How to Plan a Landmark-Focused City Break — timed-entry stacking risks and booking priorities
- Tokenbyte: How to Use AI for Travel Planning — practical guidance on using Claude and Perplexity as research assistants without over-relying on raw AI output
- The Role of Data in Travel Planning — how data and automation improve planning quality and reduce guesswork
Next steps: Confirm official opening hours on each attraction's own website before finalizing your schedule. Export your Google Maps cluster as a shared link. Run through the first day's sequence the evening before you travel — small adjustments at that stage cost nothing; the same adjustments on the ground cost hours.